1 Finishes
Abbey Security Set - Deadbolt Keyed One Side - featuring SmartKey
Signature Series
Select a product below in order to view all of its support information

1 Finishes
Signature Series

1 Finishes
Signature Series
2 Finishes
2 Finishes
Kwikset Series
2 Finishes
Kwikset Series
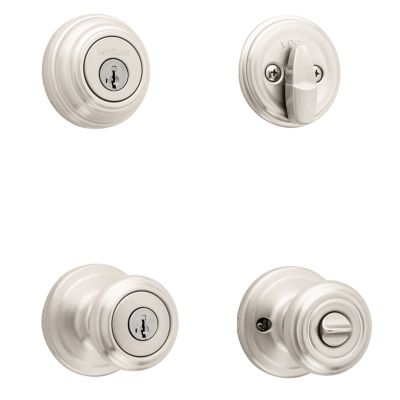
2 Finishes
Signature Series
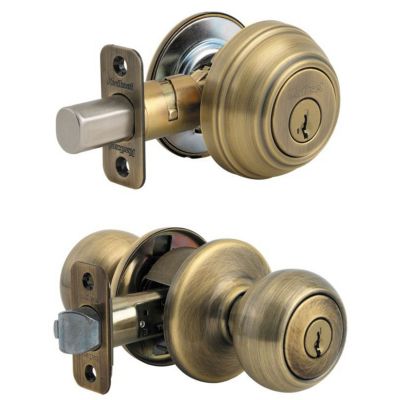
1 Finishes
Signature Series
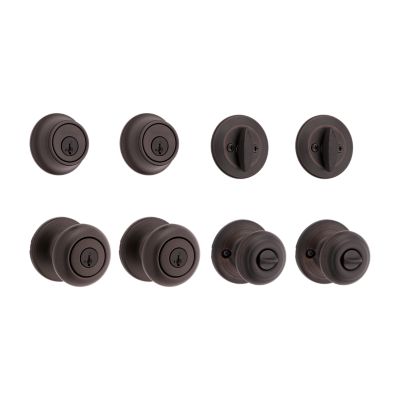
2 Finishes
Kwikset Series
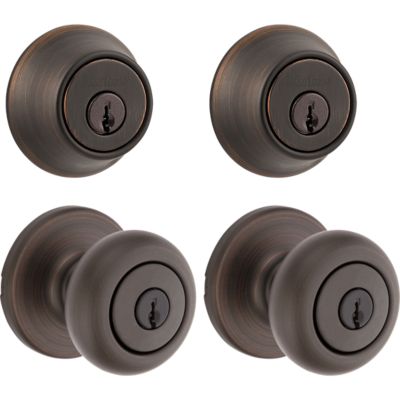
3 Finishes
Kwikset Series
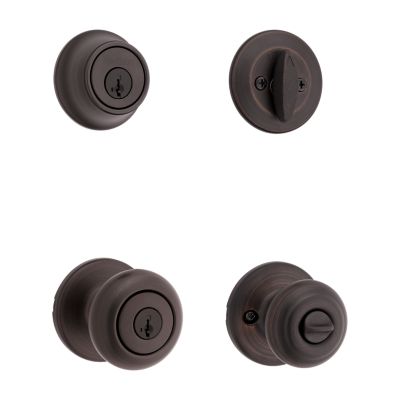
1 Finishes
Kwikset Series
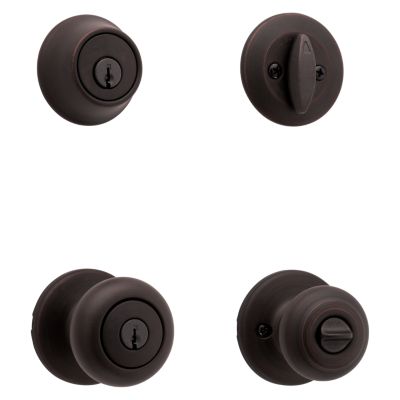
3 Finishes
Kwikset Series
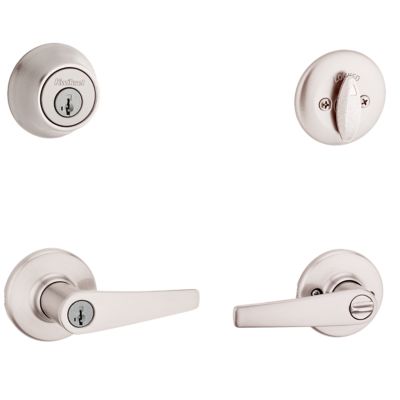
4 Finishes
Kwikset Series
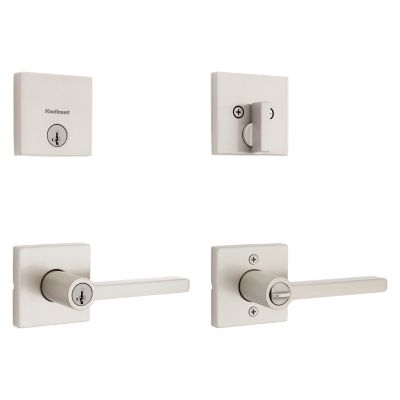
3 Finishes
Signature Series
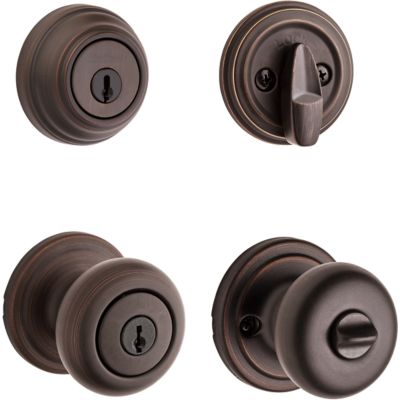
1 Finishes
Signature Series

2 Finishes
Signature Series

2 Finishes
Signature Series
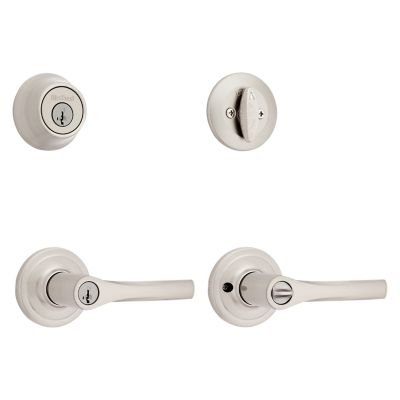
2 Finishes
Kwikset Series
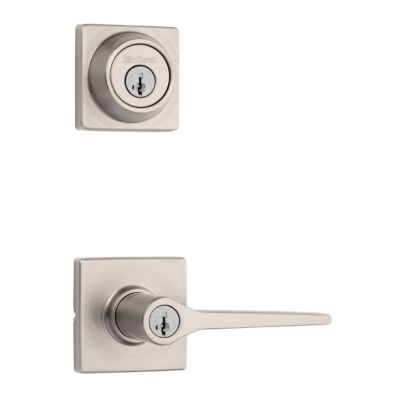
2 Finishes
Kwikset Series
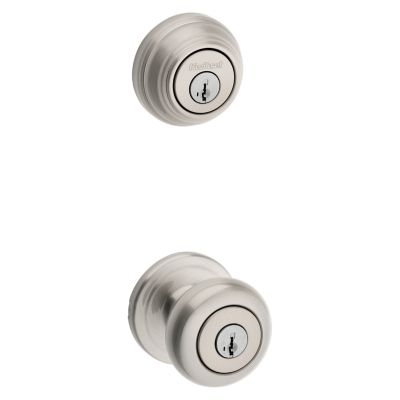
3 Finishes
Signature Series
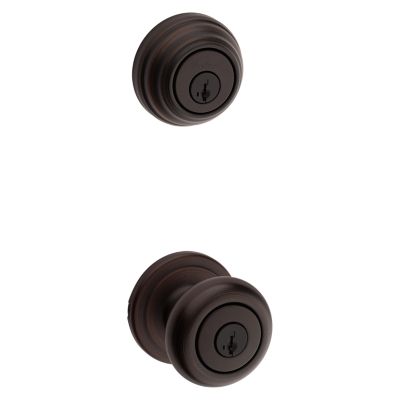
5 Finishes
Signature Series
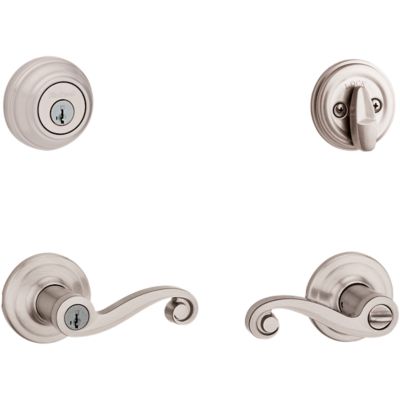
3 Finishes
Signature Series
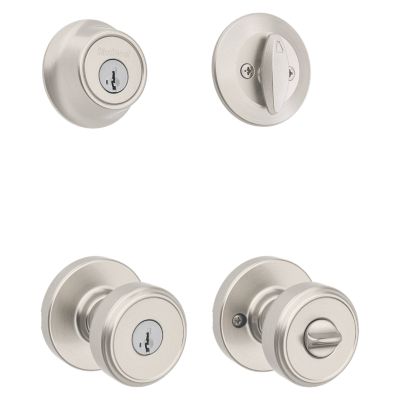
2 Finishes
Kwikset Series
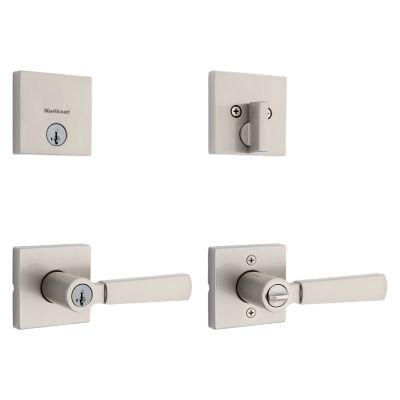
2 Finishes
Signature Series
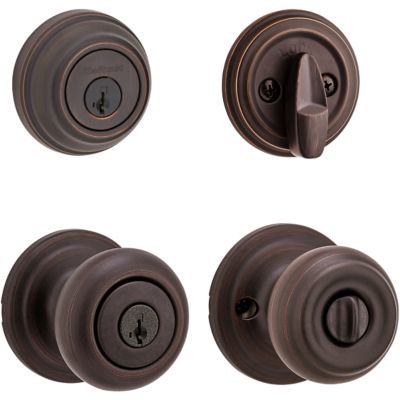
1 Finishes
Signature Series
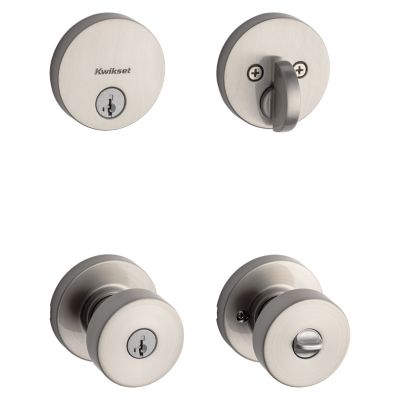
2 Finishes
Signature Series
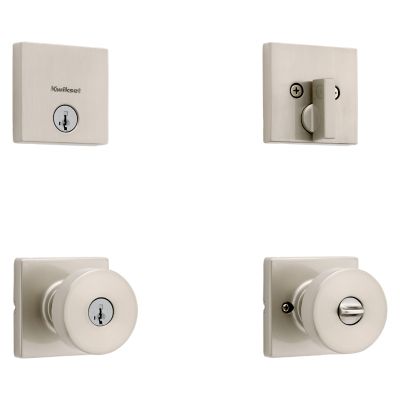
2 Finishes
Signature Series
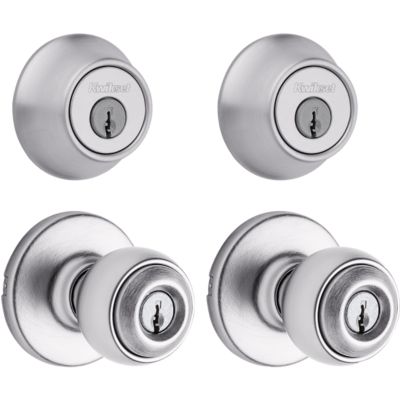
3 Finishes
Kwikset Series
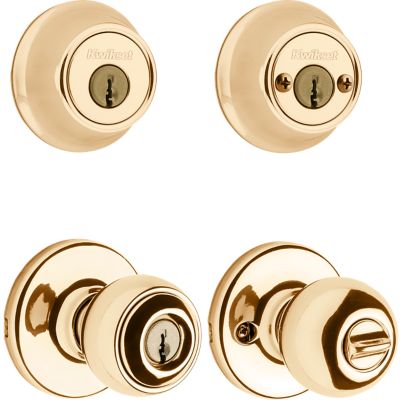
3 Finishes
Kwikset Series
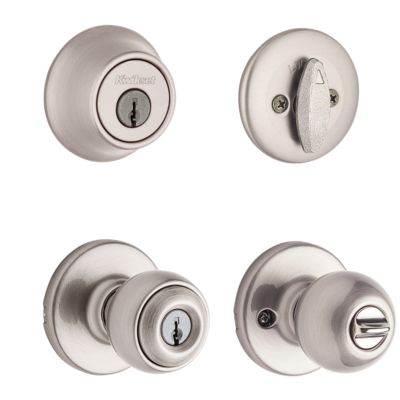
5 Finishes
Kwikset Series

7 Finishes
Kwikset Series
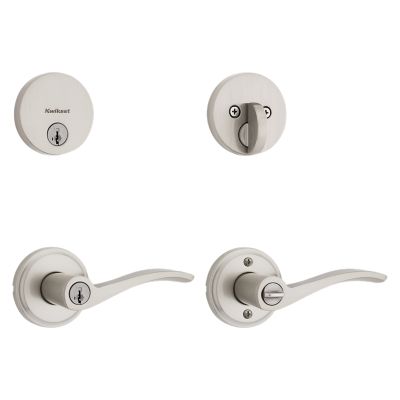
3 Finishes
Signature Series
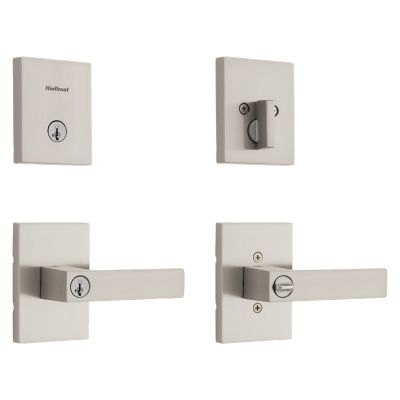
2 Finishes
Signature Series
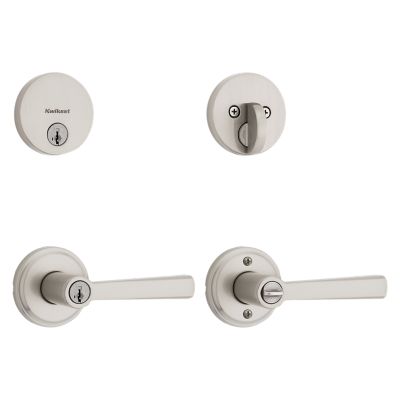
2 Finishes
Signature Series
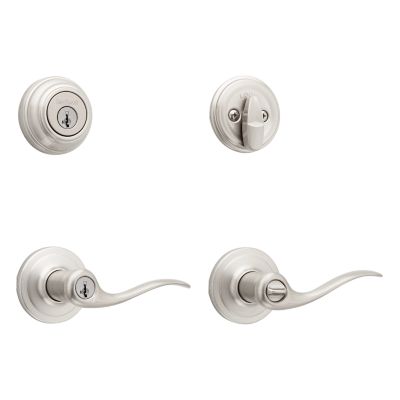
3 Finishes
Signature Series
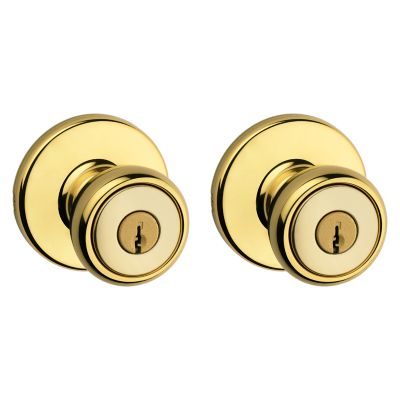
2 Finishes
Kwikset Series
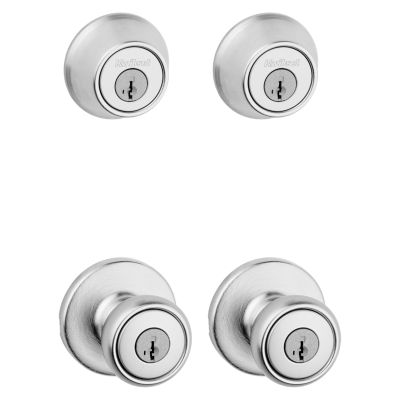
3 Finishes
Kwikset Series
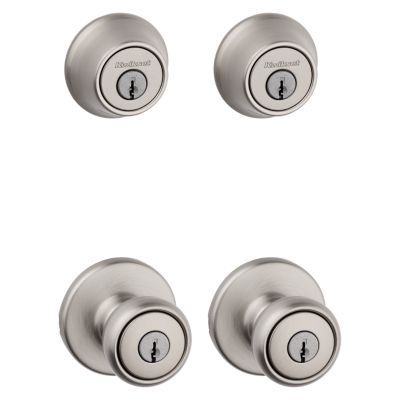
4 Finishes
Kwikset Series

3 Finishes
Kwikset Series
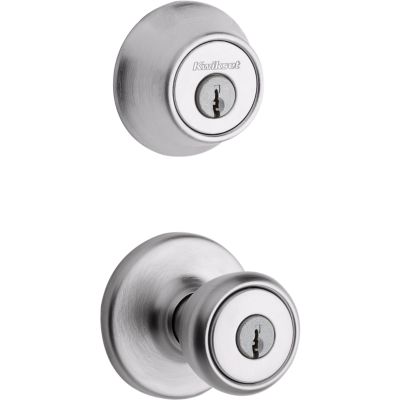
6 Finishes
Kwikset Series
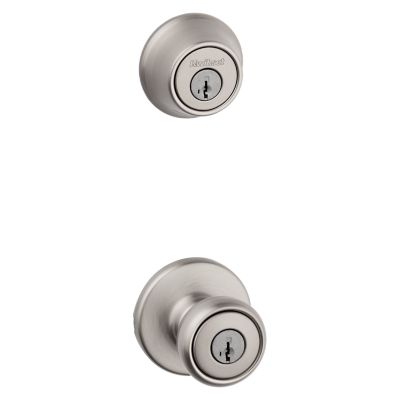
4 Finishes
Kwikset Series
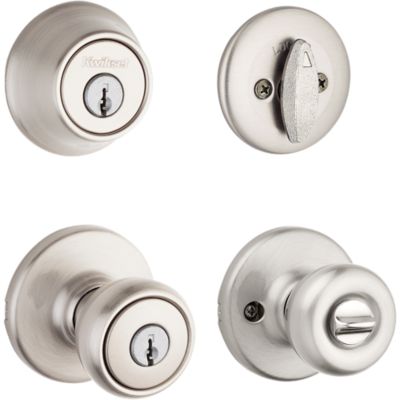
6 Finishes
Kwikset Series

2 Finishes
Kwikset Series

2 Finishes
Signature Series
Prepare your door. Make sure your lock is installed on your door and that your door is all the way open. If you have a deadbolt, make sure it is in the locked potion. If you have a knob or lever, make sure it is in the locked position. Ensure your door cannot close on its own, or that you have another way to enter you home. Insert current key. Insert the key that currently operates your lock. Rotate the key 90 degrees clockwise. Insert the SmartKey tool fully and firmly into the SmartKey hole. You may feel the tool click inside the lock. Remove the SmarKey tool. Remove the current key. Insert the new key you wish to use with the lock. Make sure your key is FULLY inserted. The edge of the key touches the indent in the cylinder face. Without pushing or pulling the key, rotate it 180 degrees counter-clockwise. Then rotate they key 180 degrees clockwise. Pull the key to make sure it will NOT come out in this position. Rotate the key 90 degrees counter-clockwise, back to the starting position. Remove your new key. You have successfully re-keyed your lock. View Full Re-Keying Manual. Video How to Re-Key Your SmartKey Lock ;
Read MoreIf your cylinder will not rotate with the key used during re-keying, your cylinder has become misprogrammed. A common reason for misprogramming is that they key was not fully inserted during re-keying. Another common reason is that they key was accidentally pulled while rotating to the home position. It’s also possible that the key was pushed in, up, or down while rotating back to the home position. The following video will help you: Video 3 Simple Steps to Fix Misprogrammed SmartKey Cylinder ;
Read MoreSmartKey Security™ re-key technology is compatible with Kwikset (KW1) keyway;
Read MoreUnlimited amount of times. All you need is the Smarkey Security tool. ;
Read MorePerform these steps only if your key came out during the re-key test procedure Video Title of the Video ;
Read MorePerform this procedure if your cylinder turns only in one direction : Video Title of the Video ;
Read MoreIf your key pulls out in any direction, please call Kwikset Consumer Service: 1-800-327-5625;
Read MoreThe thumb turn is tightened by the two philips screws on each side of the plate.;
Read MoreIt sounds like you may have accidentally misprogrammed the new cylinder. Please watch the below video for step-by-step instructions on how to recover that cylinder and rekey it to your new key. Video Recovering a Misprogrammed SmartKey Cylinder ;
Read More